Hi all,
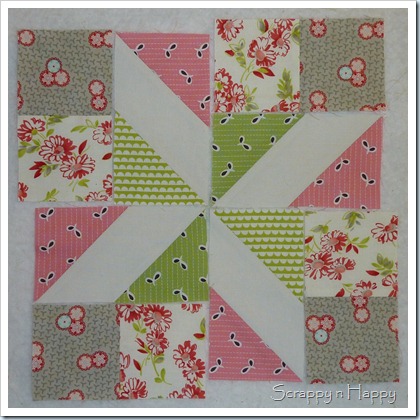
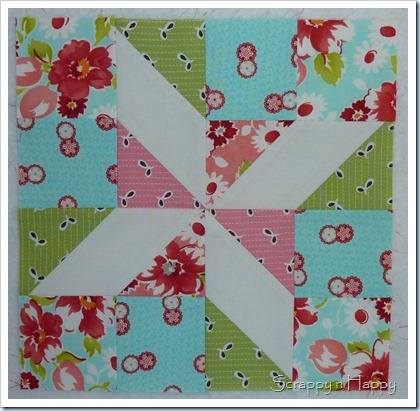
This weeks block is called Clay’s Choice. This is a 10” block and you will need 2 if you are making the Twin size quilt!
This block is using piecing techniques that we have used for other blocks so it should be very easy for you to make! But if you do have problems please contact me and I will do my best to help out!
Also, I pressed my seams open for this block. But please use your preferred method…and remember – have fun!
Cutting instructions
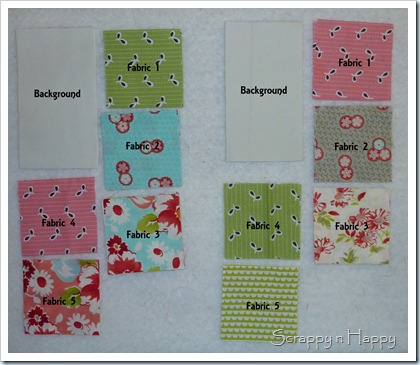
For this block you will need a background fabric and 5 other fabrics. This is a busy block! (I have added an alternate colour scheme at the end of the post.)
Background – 4 rectangles 3” x 5.5”
Fabric 1,2,3 – 4 squares from each fabric 3” x 3”
Fabric 4,5 (Centre Pinwheel) – 2 squares from each fabric 3” x 3”
Piecing
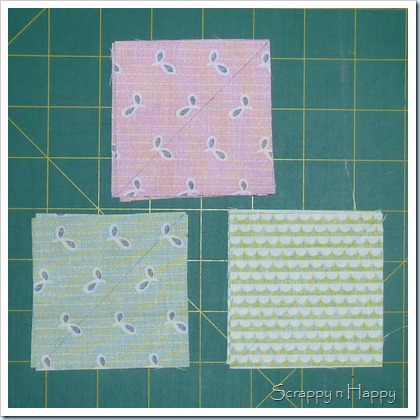
Take the squares for fabric 1, 4 and 5. Draw a line diagonally through the middle of each of the squares.
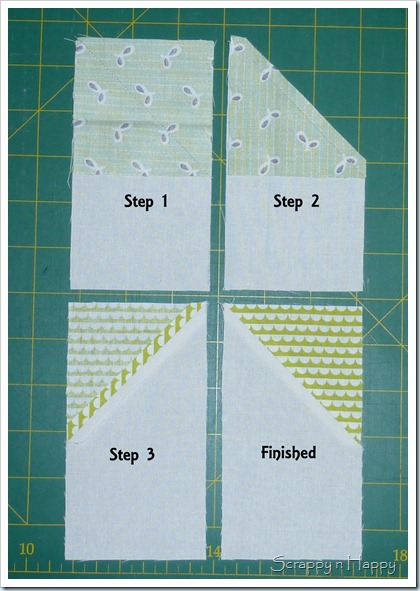
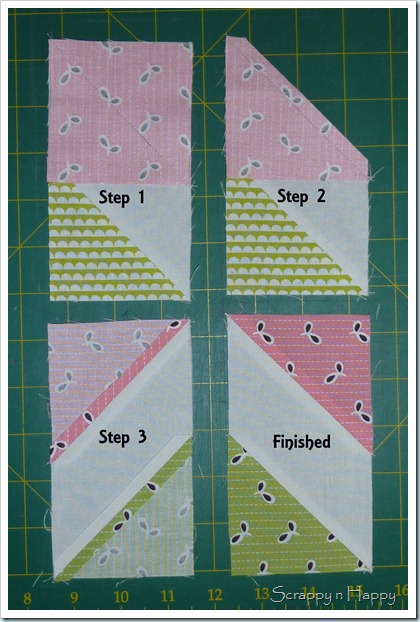
Step 1 – Using fabric 4 and 5. Place a fabric square over the top of the background rectangle. Sew along the drawn line. Make sure the line on the squares is running the same way for all four units.
Step 2 – Trim off excess with 1/4” seam allowance.
Step 3 – Press seams open.
Step 4 – This section is done!
Step 1 – Using fabric 1. Place the fabric square on top of the background rectangle, at the opposite end to the last section and make sure the seams are running in the same direction as the last seam.
Step 2 – Trim off excess fabric using 1/4” seam allowance.
Step 3 – Press seam open.
Step 4 – This unit is finished. They should measure 3” x 5.5”.
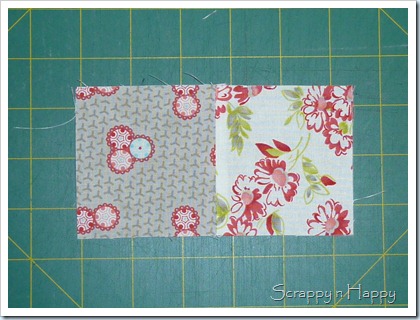
Using Fabric 2 and 3. Join one square of each fabric together using 1/4” seam allowance. Press seam open.
You should have 4 units that measure 3” x 5.5”.
Lay all your units out, making sure the pinwheel fabrics alternate and that the outside corners are all the same fabric.
Sew together the units, a pinwheel section to an outside section. Keep your units laid out, it is very easy to get them mixed up – I had to use the unpicker!
Sew the top 2 units together and the bottom 2 units together, pressing the seams open as you go.
Then join them together across the middle. It is very helpful to pin, especially the very centre seam!
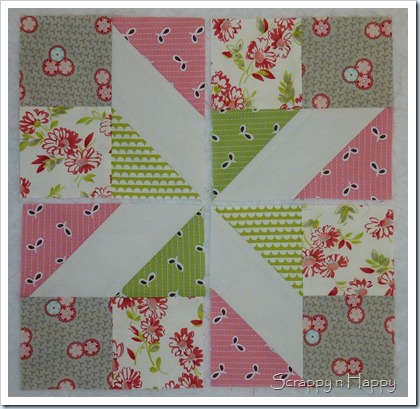
You now have a completed Clay’s Choice block! It should measure 10.5” square.
This is my second block!
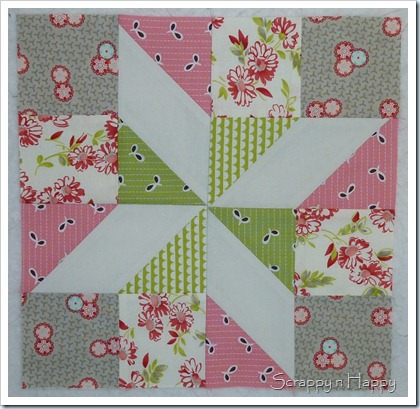
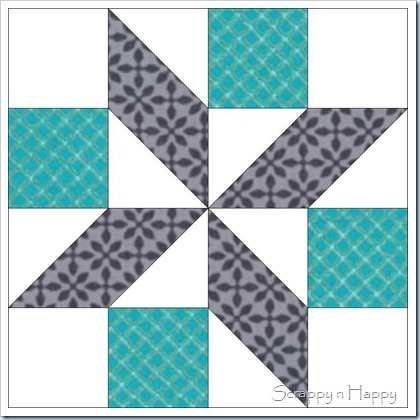
This block would look great if you messed with the colour placements a bit too.
This one I did on EQ7 - Here the background is the gray fabric and the white background is fabrics 1, 2, 4 and 5 – So fabric 3 is the teal. It looks like a totally different block!
Don’t forget to check out the flickr group, there is lots of progress and it is very encouraging!



2 comments:
Awesome tutorial Jess (I might have to steal your lots of steps in one photo idea - that is brilliant!) Can't wait to make these one day (soon I hope!!)
That's a pretty block, Jess. I've been playing catch up with the previous weeks' blocks and hope to do this one this weekend! Great tutorial, by the way.
Post a Comment